What is a Home Whitening System
A home whitening system is a popular and convenient way to brighten your smile from the comfort of your own home. These systems typically involve the use of bleaching agents, such as hydrogen peroxide or carbamide peroxide, to remove stains and discoloration from your teeth. They offer a more accessible and often more affordable alternative to in-office teeth whitening treatments performed by a dentist. Home whitening systems are designed to be used regularly over a period of time, gradually improving the color of your teeth and giving you a more confident, radiant smile. Understanding the different types of systems available and how to use them properly is key to achieving the best results and maintaining optimal oral health.
Types of Home Whitening Systems
The home whitening market offers a variety of options, each with its own set of advantages and disadvantages. These systems cater to different budgets, preferences, and levels of commitment. Choosing the right type for your needs involves considering factors like the severity of your staining, your sensitivity level, and your desired results. Understanding the various options will help you make an informed decision and select a system that aligns with your oral health goals.
Over-the-Counter Whitening Options

Over-the-counter (OTC) whitening products are readily available at drugstores and supermarkets, offering a convenient starting point for those looking to brighten their smiles. These products typically contain lower concentrations of bleaching agents compared to professional systems, making them safer for unsupervised use but also potentially less effective for deep stains. They are a good choice for those with mild discoloration or those looking for a subtle improvement in their tooth color. Always follow product instructions carefully to avoid potential side effects and to achieve the best possible outcomes.
Whitening Toothpaste
Whitening toothpastes work by using mild abrasives and/or chemical agents to remove surface stains. They are an inexpensive and easy way to incorporate whitening into your daily oral hygiene routine. While whitening toothpastes can help remove stains from coffee, tea, and tobacco, they are not effective for changing the underlying color of your teeth. Regular use can help maintain the results of other whitening treatments and prevent new stains from forming. However, be cautious with abrasive toothpastes, as excessive use can potentially damage tooth enamel over time.
Whitening Strips
Whitening strips are thin, flexible strips coated with a whitening gel that contains hydrogen peroxide. They are applied directly to the teeth and left in place for a specified amount of time, typically for about 30 minutes. Whitening strips are easy to use and offer noticeable results in a relatively short period. They are effective for removing both surface and deeper stains, giving you a brighter smile. However, they may not be suitable for everyone, especially those with sensitive teeth or uneven tooth surfaces. Following the instructions on the product packaging is essential to achieve the best results and to minimize any potential side effects.
Whitening Gels

Whitening gels are applied directly to the teeth using a brush or tray. These gels usually contain hydrogen peroxide or carbamide peroxide to lighten the teeth and remove stains. They are often more effective than whitening toothpastes because they contain higher concentrations of the active ingredients. The concentration of the whitening agent and the frequency of application varies depending on the specific product, and it is important to follow instructions carefully to avoid potential side effects like tooth sensitivity. Whitening gels provide a flexible approach for people seeking to improve their smile from the comfort of their home.
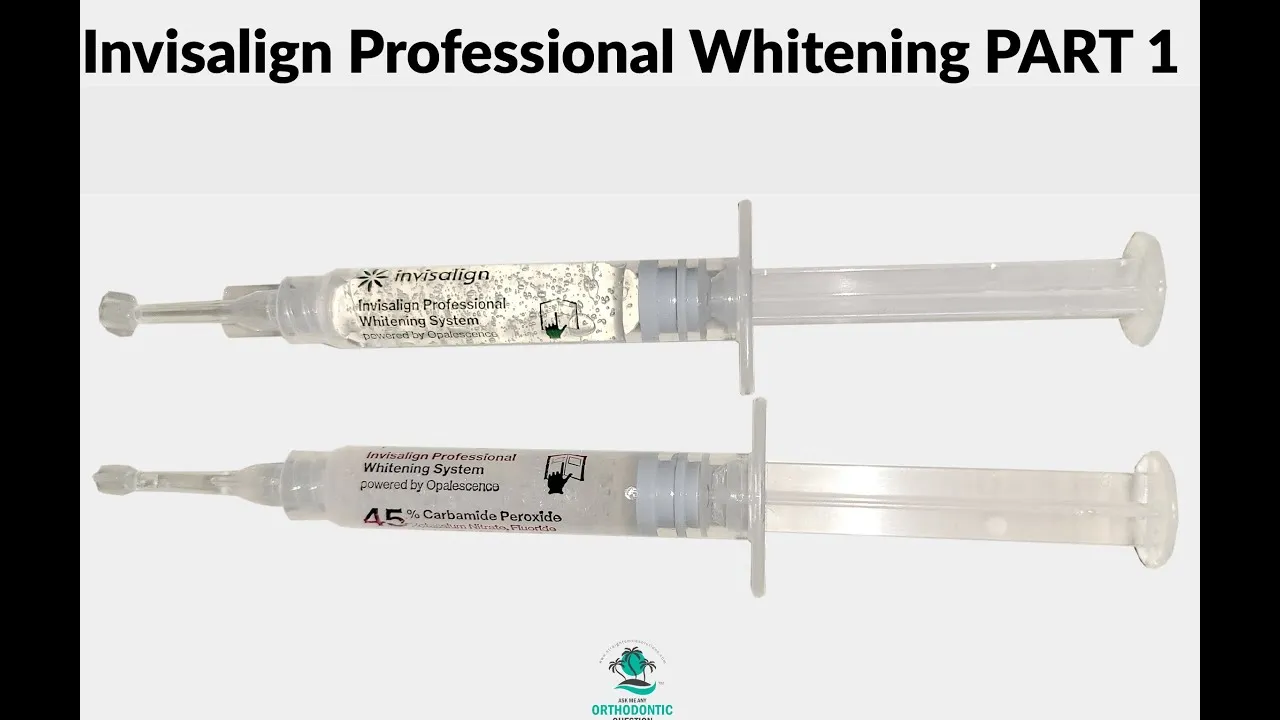
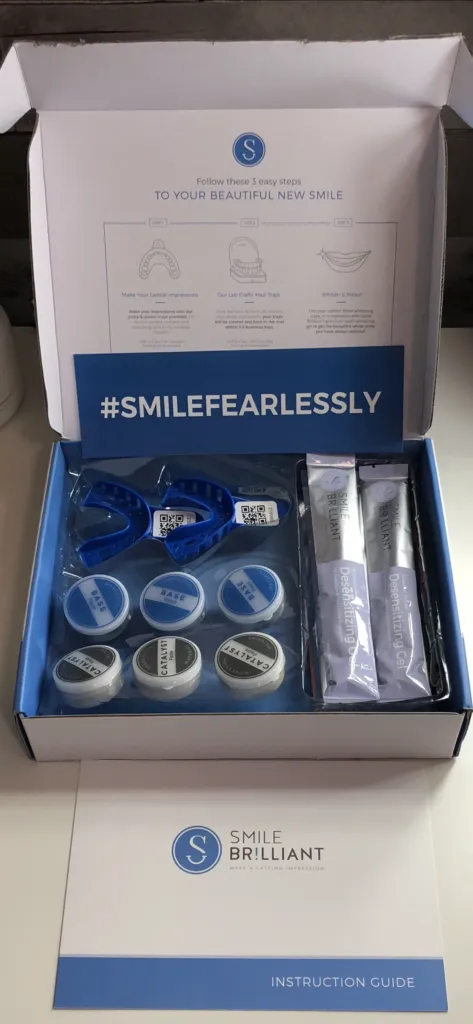
Professional Home Whitening Systems
Professional home whitening systems are prescribed and monitored by your dentist. These systems typically involve custom-fitted trays and a higher concentration of bleaching agent compared to OTC products. The personalized approach ensures a more effective and safer whitening experience, as your dentist can assess your oral health and address any potential issues. These systems are designed to provide significant improvements in tooth color and are a great choice for people seeking a more dramatic change or who have more complex staining issues.
Custom-Fit Trays
Custom-fit trays are a key component of professional home whitening systems. They are created by your dentist to precisely fit the contours of your teeth. This ensures that the whitening gel makes full contact with the tooth surfaces, preventing uneven whitening and minimizing the risk of gum irritation. The personalized trays provide a more comfortable and effective whitening experience compared to the generic trays found in some OTC systems. Your dentist can provide instructions on the correct way to use the trays and monitor any potential side effects during the whitening process.
Instructions for Using a Home Whitening System

Proper use of a home whitening system is critical to achieving the desired results safely and effectively. Following the instructions provided by your dentist or the product manufacturer is essential. This section outlines the general steps involved in using a home whitening system. Always consult with a dental professional for personalized guidance and to address any specific concerns or health conditions you may have.
Step 1 Consultation with Your Dentist
Before starting any home whitening treatment, a consultation with your dentist is crucial. Your dentist will examine your teeth and gums to assess your suitability for whitening and determine the most appropriate treatment option. They will check for any underlying dental problems, such as cavities or gum disease, that need to be addressed before whitening. Your dentist can also take impressions of your teeth to create custom-fit trays if a professional home whitening system is recommended.
Step 2 Preparing Your Trays
If you are using custom-fit trays, your dentist will provide instructions on how to prepare them. This may involve trimming the trays for a comfortable fit and ensuring they fit snugly against your teeth. If using pre-filled trays, the preparation might include removing the protective covering and ensuring the gel is evenly distributed. Proper tray preparation is essential for achieving the desired whitening results and preventing irritation to the gums. If you are using strips, you skip this step.
Step 3 Applying the Whitening Agent
Once your trays are prepared, apply the whitening agent as directed by your dentist or the product instructions. This typically involves squeezing a small amount of gel into each tray, ensuring it covers the surfaces of your teeth that you wish to whiten. Avoid overfilling the trays, as this can lead to the gel overflowing and irritating your gums. If you are using strips, you simply apply them directly to the teeth, following the package instructions.
Step 4 Inserting the Trays
Carefully insert the trays into your mouth, ensuring they fit comfortably and snugly over your teeth. The whitening agent should come into contact with the tooth surfaces, allowing it to work its magic. Remove any excess gel that may have overflowed onto your gums. If using whitening strips, make sure they are properly positioned and adhered to your teeth according to the product instructions.
Step 5 Whitening Time
Follow the recommended whitening time specified by your dentist or the product instructions. This can vary depending on the concentration of the whitening agent and the type of system you are using. Avoid leaving the trays in for longer than recommended, as this can increase the risk of sensitivity or other side effects. If you experience any discomfort or sensitivity during the whitening process, contact your dentist immediately.
Step 6 Rinsing and Cleaning

Once the whitening time is complete, remove the trays and thoroughly rinse your mouth with water. Brush your teeth gently to remove any residual gel. Clean the trays with a soft toothbrush and cool water to prevent bacterial growth. Avoid using hot water, as this can warp the trays. Storing the trays properly will help them stay in good condition for future whitening sessions. Proper cleaning and maintenance are crucial for the longevity and hygiene of your whitening system.
Top 5 Facts about Home Whitening Systems
Fact 1 The Importance of Dentist Consultation
Before starting any home whitening treatment, it is essential to consult with your dentist. A dentist can assess your oral health and determine if you are a good candidate for whitening. They will also check for any existing dental issues, such as cavities or gum disease, which could affect the whitening process. Professional guidance ensures that your whitening treatment is safe and effective, minimizing the risk of complications and maximizing your chances of achieving your desired results. It is the first and most important step.
Fact 2 Sensitivity and Side Effects

Tooth sensitivity is a common side effect of home whitening systems. This sensitivity is usually temporary and subsides after the treatment is completed. Some individuals may also experience gum irritation. To minimize these side effects, follow the instructions carefully and avoid over-whitening. Your dentist can recommend products, such as desensitizing toothpaste, to help manage any discomfort. If the sensitivity is severe or persistent, stop the treatment and consult your dentist. They can adjust the treatment plan to minimize side effects and make you comfortable.
Fact 3 Maintaining Results
The results of home whitening treatments are not permanent. To maintain your brighter smile, it is essential to practice good oral hygiene habits, including brushing twice a day, flossing daily, and using a mouthwash. You should also avoid or limit the consumption of stain-causing foods and drinks, such as coffee, tea, red wine, and dark-colored berries. Regular dental checkups and professional cleanings will also help to maintain your results and ensure optimal oral health. Touch-up treatments may be needed periodically to keep your teeth looking their best.
Fact 4 Not for Everyone
Home whitening systems are not suitable for everyone. Individuals with certain dental conditions, such as cavities, gum disease, or sensitive teeth, may not be good candidates. Whitening treatments are also not recommended for pregnant or breastfeeding women. Additionally, whitening agents will not change the color of dental restorations, such as fillings, crowns, and veneers. If you have these types of dental work, your dentist may recommend other cosmetic options to match the shade of your whitened teeth. Consulting your dentist will help you decide if whitening is right for you and what treatment plan will best meet your needs.
Fact 5 Effectiveness Varies
The effectiveness of home whitening systems can vary depending on several factors, including the type of stains, the concentration of the whitening agent, and the duration of the treatment. Some individuals may experience dramatic results, while others may see only a subtle improvement. The shade of your natural teeth also plays a role; teeth that are naturally darker may be more difficult to whiten. Following the instructions carefully and being patient is essential. Your dentist can provide realistic expectations and help you understand what to expect from the whitening process.
Conclusion
Home whitening systems offer a convenient and effective way to brighten your smile. By understanding the different types of systems available, following the instructions carefully, and consulting with your dentist, you can achieve the radiant smile you have always desired. Proper oral hygiene and regular dental checkups are key to maintaining the results and ensuring the long-term health of your teeth. With the right approach, you can confidently enjoy a brighter and more beautiful smile, enhancing your overall self-esteem and well-being. Remember to prioritize your oral health and seek professional guidance to make informed decisions about your dental care.